Blessings

Hello! Rachel here with an insider's look at one of our sneak peeks for today! 


I've been really into stencils lately and I've been doing all sorts of techniques with them, so I decided to have a little fun with one of our newest stamp sets releasing later this week! It's called Friendship Blessings and it's absolutely gorgeous! I decided to create a fun wedding card and keep things simple with a white on white tone.

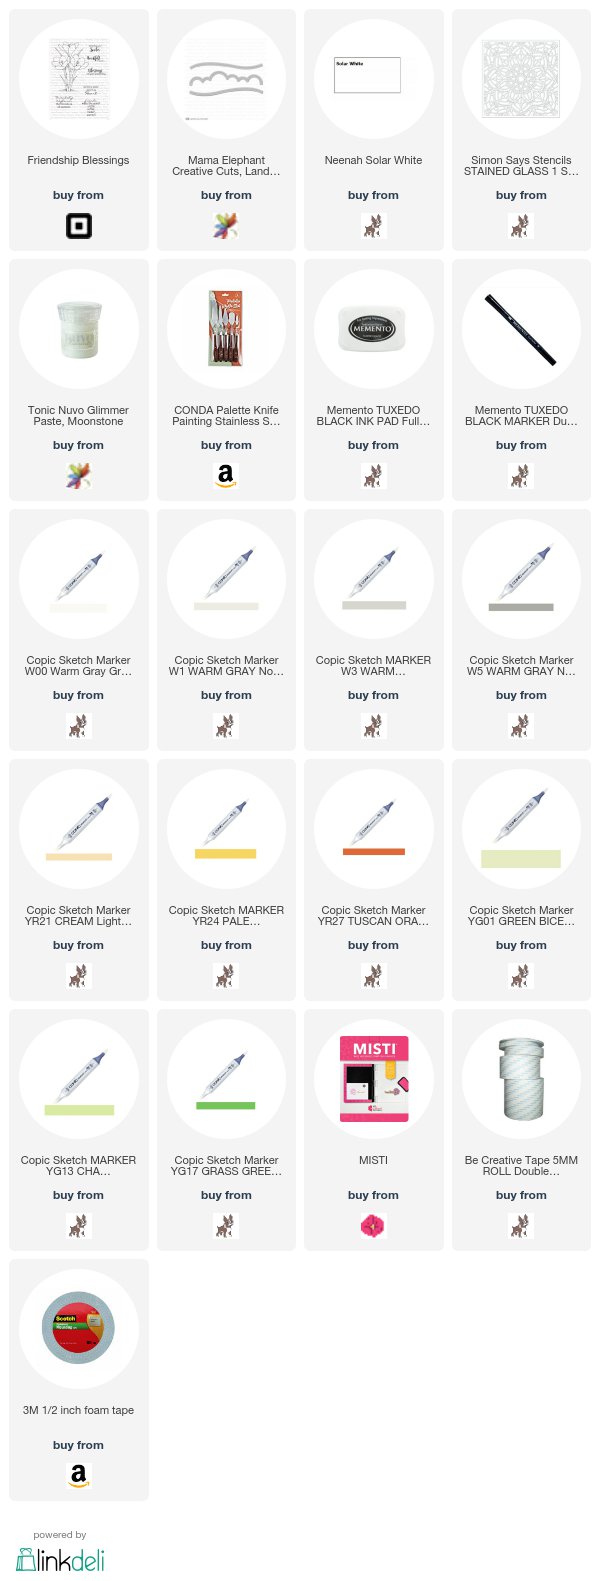
I started the card by cutting a panel that was the size of a card front (4 1/4 by 5 1/2). I taped my stencil down over the top of it and then carefully added a thin layer of Nuvo's Moonstone Glimmer Paste of the top it. I love this stuff! It's a sparkly and translucent glitter paste that looks holographic when it dries. The best part is that you can add it over any color of cardstock and the it doesn't add any other color, just the glitter! 

I set that aside to dry and then started on my image. I stamped out the flower from the set and then used my Copics to color it in. I used warm grays for the flower because I have this weird rule I use for myself - if it's a live (plant or animal) I color with warm grays and if it's inanimate (like a rock) I use cool grays. Helps me keep things straight in my head! I used yellow greens for the leaves and some yellow reds for the little stamen in the center.

Now, I did something I don't normally do and I fussy cut the image. I wanted to have it hanging over the stenciled background, so I actually got out my little scissors and did it the hard way! I then went around the edges of my image with a black marker so it looked more finished.

I then cut a small panel to go over the bottom of my card so that I could stamp my greeting. I used a stitched border die to add a little interest. I used my MISTI to stamp the sentiment so that it would be straight and then adhered my floral image where I wanted it to appear on the card.

I finished the whole thing by using double-sided tape to adhere the stenciled piece on a card base (it warped a little while drying, so the tape held it down straight). I then added some foam tape to the sentiment panel and the parts of the flower that were sticking over the top. I carefully adhered that in place and it was done!


And here's a closer look at all that fun shimmer!


Thanks for joining me today!


Comments

  1. WOW Rachel, nothing says STUNNING like white on white and add some glitter and VOILA! Instant elegance! You nailed this!

    ReplyDelete

Post a Comment

Popular posts from this blog

Grand Opening Blog Hop

Hello Crafty Friends! Wow it has been a long time in coming but today is our official GRAND OPENING!  We are so exited for today!! We have been planning this for a very long time and can't wait to show you.  We have lined up some of the MOST AMAZING talented ladies in the crafting world on our hop today!  We hope you will enjoy all the amazing projects they will be sharing! Our Newest release is now available in the Kennedy Grace Creations Online Store.  https://squareup.com/store/kennedy-grace-creations What I created for the hop is this beautiful card. Metallics on cards is beautiful and I like the combination of it with flowers. I am using the brand new Beautiful Blooms Sweet Rose stamps set. It is a large rose stamp set with various sentiments.  It is so detailed and very pretty.  To celebrate our GRAND OPENING - Kennedy Grace Creations will be giving away 3 random winners $25.00 gift certificates to our Online Store. ...

It's Heidi on the blog today

Hi everyone, I hope you’re all doing well!  Today I have my third and last guest design post for you all.  For this fun and colorful card I stamped one of the pretty flowers from the “Grace’s Little Note” stamp set from Kennedy Grace Creations with Memento’s “Rich Cocoa” ink on Copic friendly paper. After coloring all of the flowers with my Copic Markers I used a black Copic Multiliner 0.3 on the hearts of the flowers and created some white lines on the flowers and the leaves to make them more interesting to look at, using a white Gelly Roll pen.   The background was created very easily by stamping one of the sentiments from the “Grace’s Little Note’s” stamp set repeatedly on some crème coloured linen textured card stock. The same sentiment was used on the vellum part with black ink. If you would like to know more about how I made this card and what exact colours I used then you can go over to my website for more details: http://www. mak...
Welcome to the CDD Stamp & Die Release Blog Hop.    All stamps & Dies are in the  CDD Shop  and no w available for purchase. You may purchase stamps and dies here   Autumn Wishes Bundle The Autumn Wishes Bundle is available for this weekend only thru Sunday.  This special price is for what is in stock only and ends 8/30 10pm MST. We also have 3 new sequins                                                      Here's what I've created for you... I created for you this really cute scarecrow garden scene card.  I stamped the adorable girly scarecrow from the Autumn Wishes stamp set on to watercolor paper in Versafine ink and embossed i...